Lesson 6 - Real world data at your fingertips: Light, Ultrasonic Motion and more...
Use your Chrome browser on Mac, Android or ChromeBook, the LightBlue App for iOS or Android or the WebBLE app on iPad to test these pages.
Lesson 6 - Real world data at your fingertips: Light, Ultrasonic Motion and more...
Lesson 7 - Build your own BLE ultrasonic motion detector for under $AUD30
Reading Data from Connected Sensors
|
|
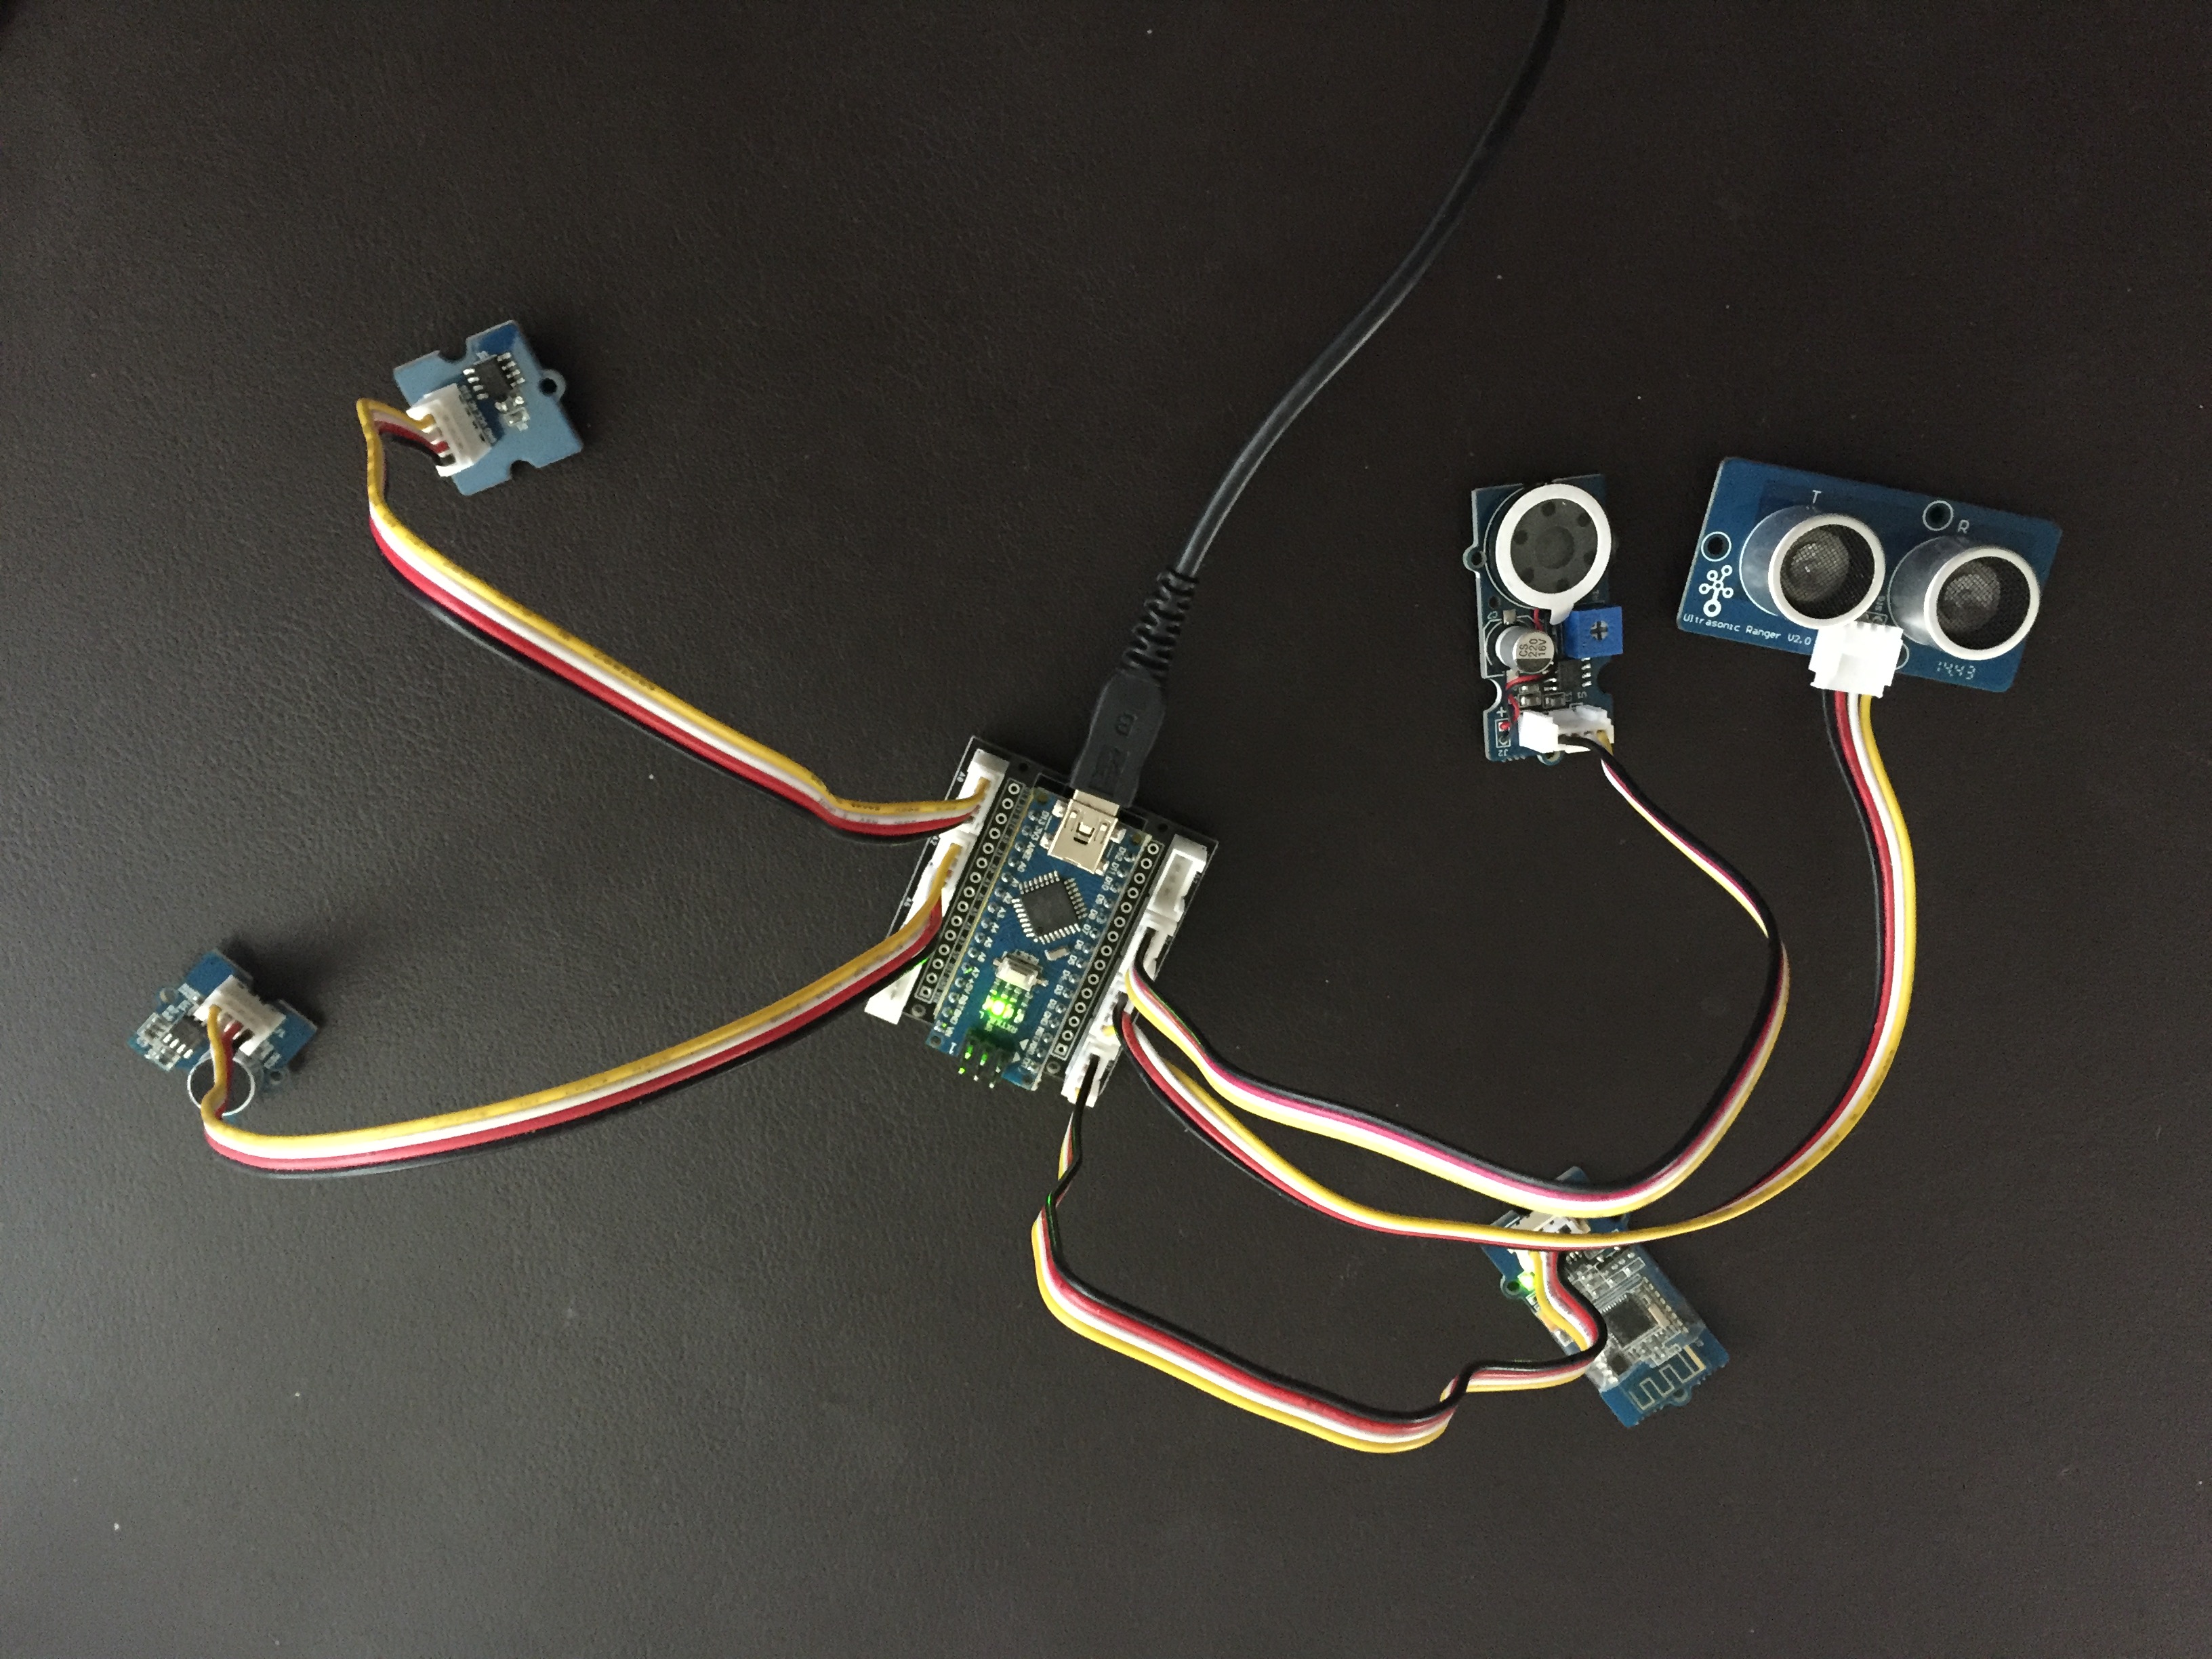
 Grove Light Sensor
 Grove Sound Sensor
 Grove Ultrasonic Motion Sensor
Arduino Sketch: Light (and Sound) (Copy and paste into Arduino IDE)int LIGHT_SENSOR = 14; /* pin connected to the Light Sensor */ int light = 0; void setup() {
Serial.begin(9600);} void loop() {} |
Study the sketch carefully and see how simple this actually is! Values are read from pin number 14 (A0) (which is where the light sensor is plugged in) and these are stored in the variable "light". This is printed via BLE with "L" attached to the front, so that it can be recognised at the other end (it is also printed to the Serial monitor in a more readable form). Now just swap "light" for "sound", plug in your sound sensor, and you can collect sound data just as easily! Now that we are actually collecting numeric data, wouldn't it be nice to be able to visualise what is happening? Your Arduino IDE has a Serial Plotter in addition to the Serial Monitor that we have been using. Try selecting this option instead of the Monitor and then collect some data from your device. Using Bluetooth to communicate also presents some nice opportunities. In additoin to the webBluetooth control panel at the end of this page, we also have a GeoGebra web applet, which has sliders for various options. Watch the effect as you collect your light, sound and, later, distance! In fact, if you open the Serial Plotter in your Arduino IDE and then connect via BLE, you will be able to enjoy watching BOTH views of your changing data! |
Arduino Sketch: Distance} |
While the light and sound sensors simply take whatever is read from that pin, the ultrasonic motion sensor requires a bit more work to turn the variations in voltage at that pin into a measurement in centimetres (reasonably accurate from 0 to 400 cm). Note that these distance readings are digital, not analog like the previous sensors. As you might expect, digital tends to be wither ON or OFF, HIGH or LOW, while analog supports the variations that lead directly to values, like those for sound and light. So in the case of the ultrasonic sensor, you will see that the sensor is actually turned on and off very quickly, with very short delays between each of these switches. A burst of ultrasonic vibration is sent out, and returns to the sensor, from which the distance is calculated. If you browse some of the many excellent example sketches provided in the Arduino IDE, you will find some that refer to the ultrasonic sensor, and you should play with these. You may notice that these sketches begin with a line such as #include "Ultrasonic.h". This calls another sketch (which in turn actually calls other sketches) which is automtically loaded to perform just the calculations that have been made explicit here. |
Challenges?
So where to from here?
Did you notice that the Light and Sound sketches just repeatedly collected values, while the distance sketch used a trigger ("d")?
What might be nice would be to perhaps use a physical trigger, such as the RESET button found on most Arduino boards. Think about how you could write a sketch to operate in this way?
I would certainly suggest that you try merging the three sketches described here into one, so that you have a nice general sketch for sound, light and distance.
Then go back and continue building and enhancing your sketch. While there are certainly performance benefits in keeping things simple, there is also much to be gained from having a functional and versatile sketch that can be used with sensors, and LEDs as indicators, and perhaps even varying the tone played as one of your sensors varies - the sound as you walk back and forth would be an interesting experience!

Try for yourself!
Use your Chrome browser on Mac, Android or ChromeBook, the LightBlue App for iOS or Android or the WebBLE app on iPad to test these pages.
BLE Controls
|
|
|
Create your own Live Web Page
Home ←STEM HQ ← Getting Started with Arduino ← Arduino Lesson 6