Lesson 2: Getting Serial - Writing To and From Our Board
Lesson 2: Getting Serial - writing to and from our board
Lesson 6 - Real world data at your fingertips: Light, Ultrasonic Motion and more...
Lesson 7 - Build your own BLE ultrasonic motion detector for under $AUD30
Communication - in Both Directions!
The serial port is the simplest way to communicate with your board, and to receive feedback from your sketch. The standard serial port for the Arduino is the USB port, and the Arduino IDE offers a "serial monitor" for watching what is happening. Initialising the serial port is easy - just add Serial.begin() to your setup routine, and give a baud speed (9600 or 115200 seem fairly standard - the former value is required for Bluetooth Low Energy (BLE) communication, to be dealt with a little later).
Let's add serial support to our LED sketch.
#define LED LED_BUILTIN
void setup() { pinMode(LED, OUTPUT); Serial.begin(9600); Serial.println("Welcome to the world of Arduino!"); }
void loop() { digitalWrite(LED, HIGH); delay(1000); digitalWrite(LED, LOW); delay(1000); }
Try changing the baud rate from 9600 to 115200: what do you notice? (You will need to change the dropdown menu at the bottom right of the serial monitor window to the correct rate). The response time should be faster, but otherwise all still works.
Change Serial.println to just Serial.print - "println" forces a new line for each statement. "print" runs the strings together.
So in this way, we can use the Serial port to give us a running commentary on our sketch - very useful when debugging and trying new things!
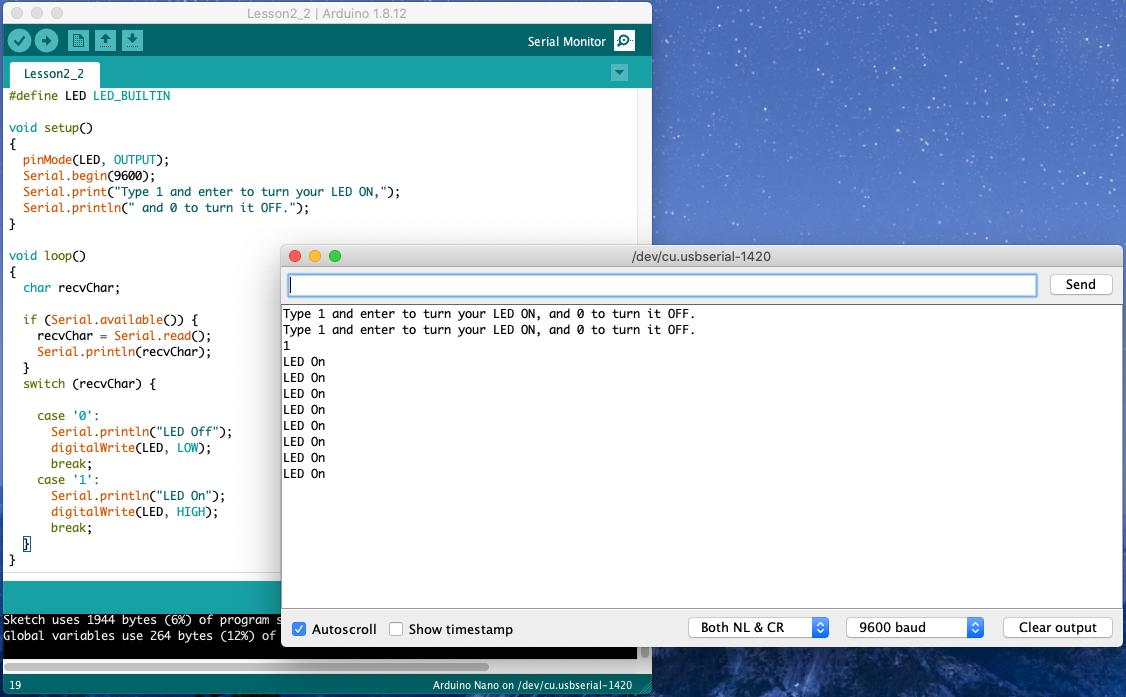
Writing TO the board
|
#define LED LED_BUILTIN void setup() { pinMode(LED, OUTPUT); Serial.begin(9600); Serial.print("Type 1 and enter to turn your LED ON,"); Serial.println(" and 0 to turn it OFF.");} void loop() { } |
Challenge
How might you change the code to have the LED come ON initially?
We would need to use the command digitalWrite(LED, HIGH) of course - but where should we place this in our sketch?
Try putting it at the start of the loop() - what do you notice?
What about at the end of setup()...
Home ←STEM HQ ← Getting Started with Arduino ← Arduino Lesson 2

