Lesson 4: From Serial to BLE
Use your Chrome browser on Mac, Android or ChromeBook, the LightBlue App for iOS or Android or the WebBLE app on iPad to test these pages.
Lesson 4: From Serial to BLE
Lesson 6 - Real world data at your fingertips: Light, Ultrasonic Motion and more...
Lesson 7 - Build your own BLE ultrasonic motion detector for under $AUD30
Connecting to the World Beyond - Wirelessly!
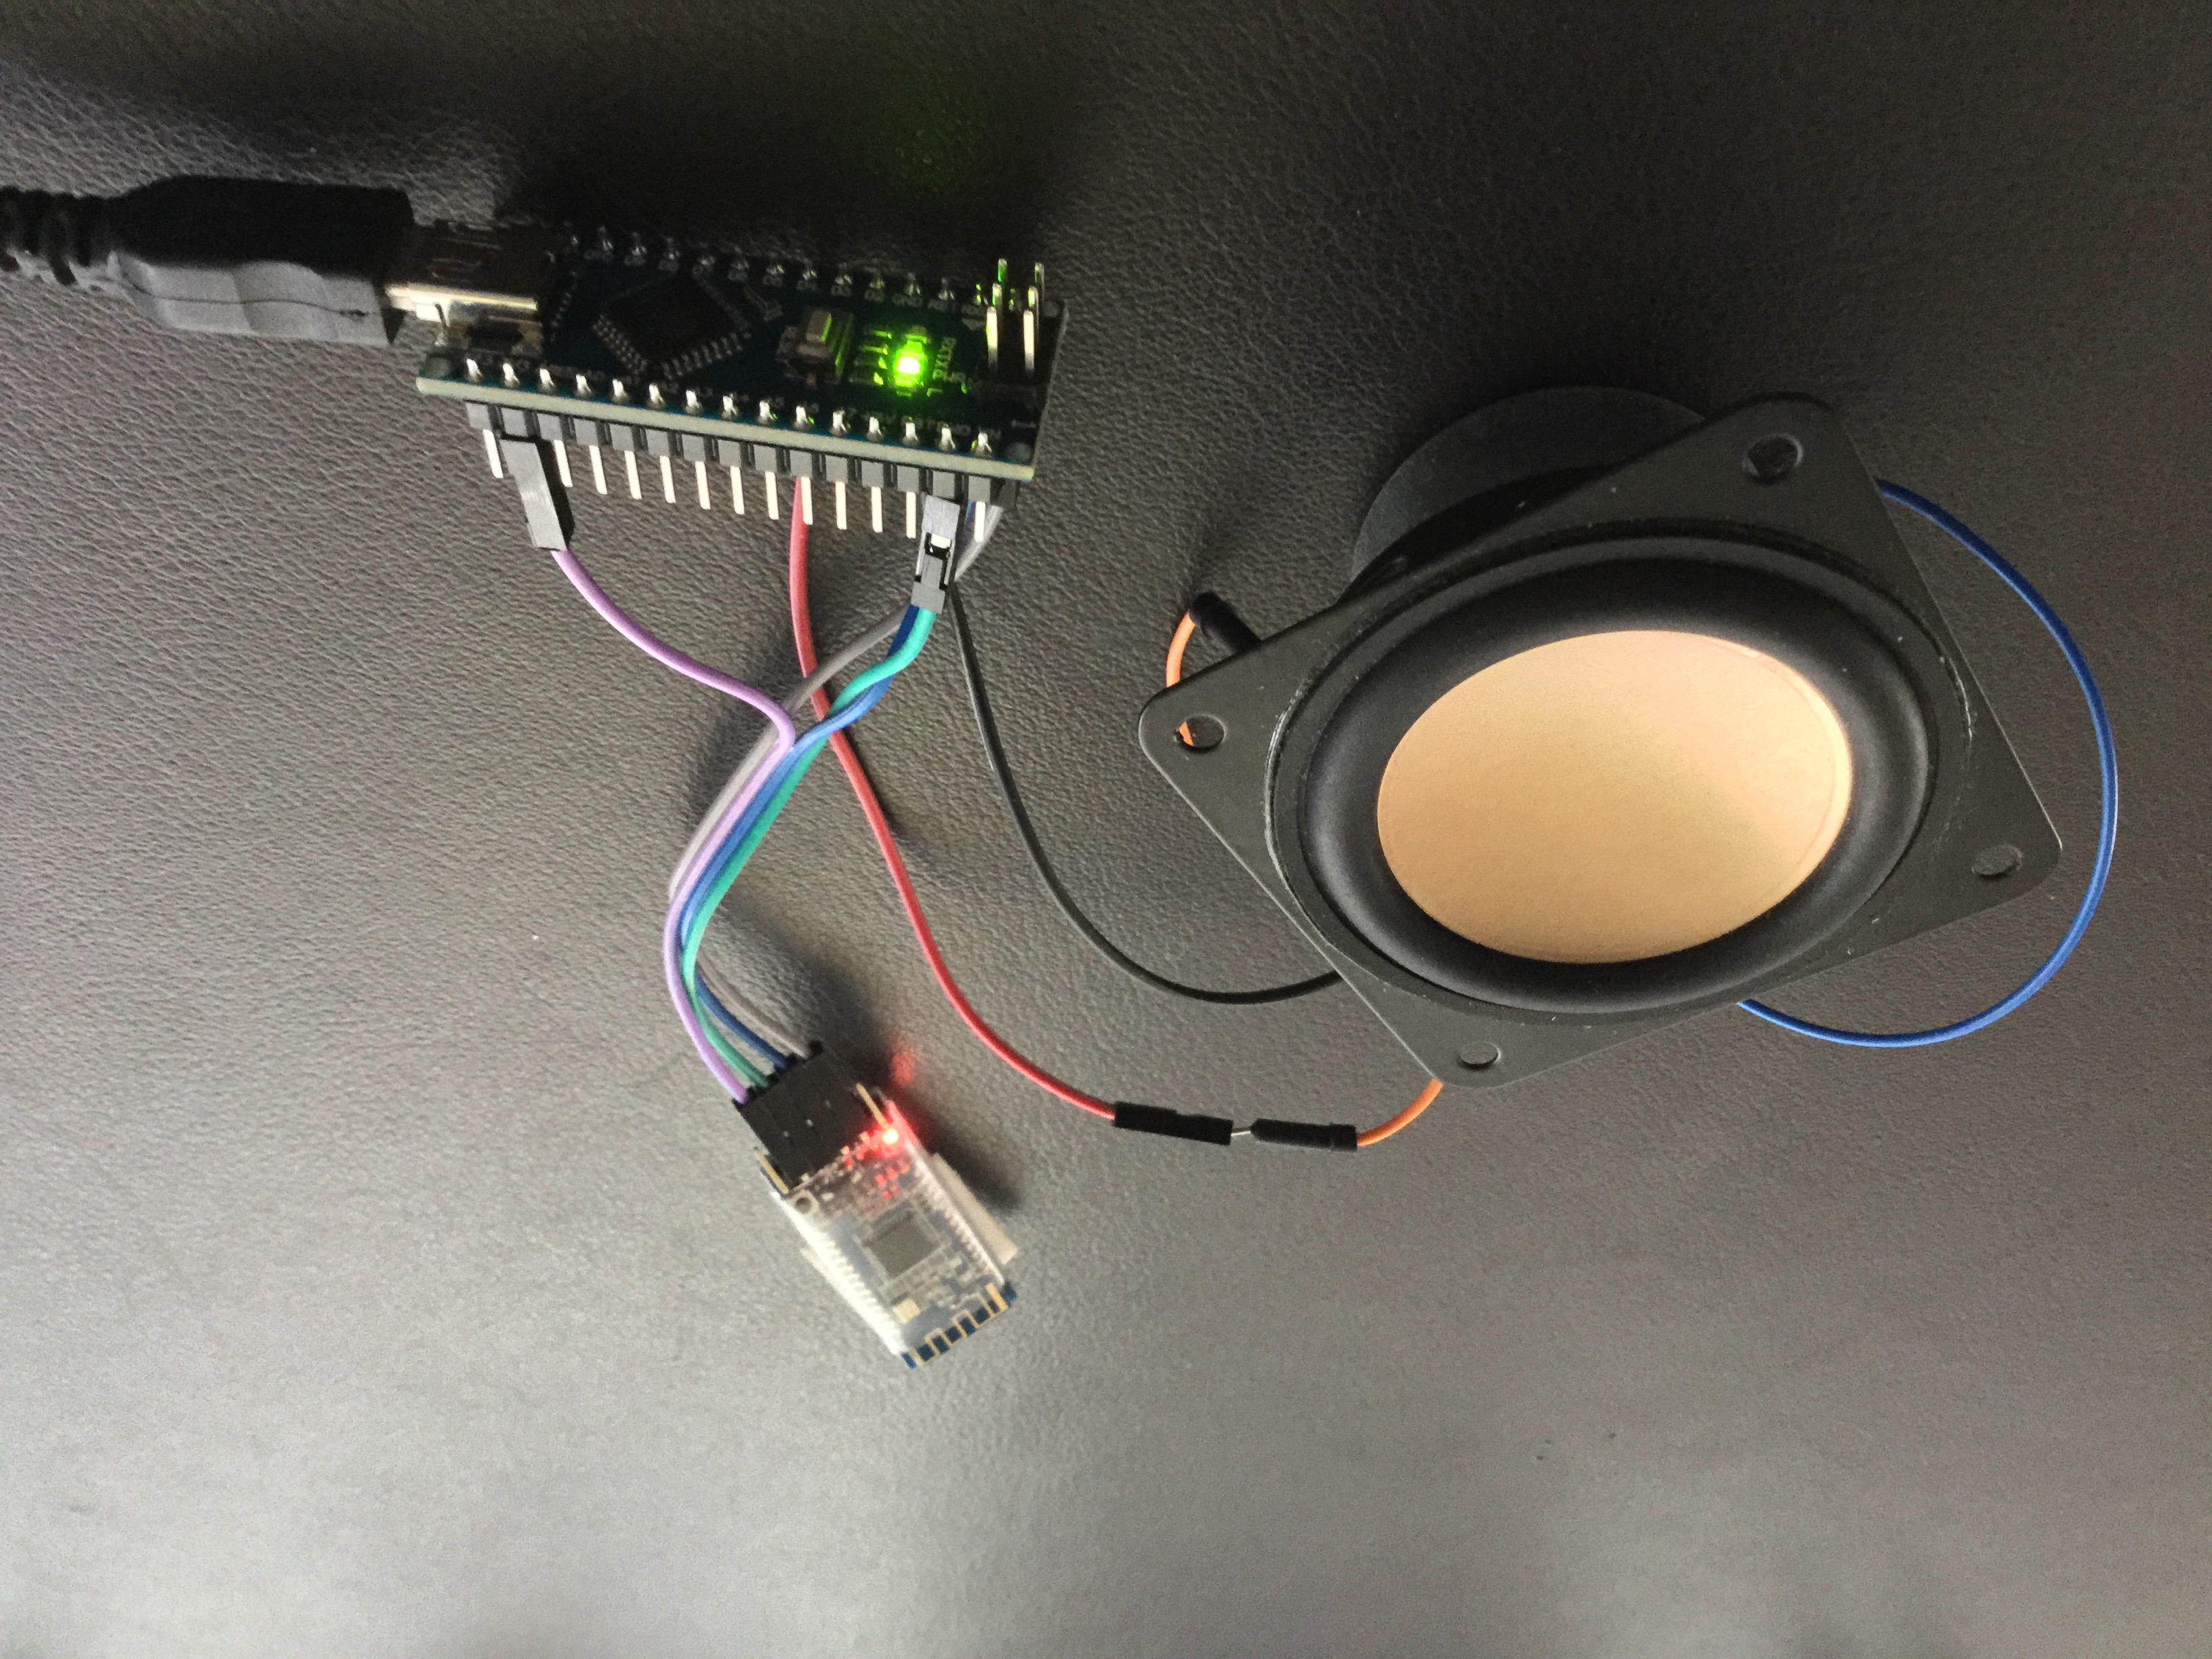
Now that we know how to use the serial port on our Arduino, the great news is that we also know how to work with BLE - simple BLE modules, such as the Grove BLE used here actually function as an alternative serial port. Instead of data being transferred between board and the Arduino IDE Serial Monitor, it is read and written via Bluetooth!
So connect your BLE module as described below and you should be good to go! Just one small catch - when you want to send your sketches from the Arduino IDE on your computer to your board, make sure you disconnect your Bluetooth module! The Serial port is needed by the computer and cannot juggle BLE at the same time!
For detailed information regarding Bluetooth modules, refer to Martyn Currey's excellent review. I have been using HM10 modules from eBay and these seem to work well for my purposes, although some are not recognised by different Android systems (I suspect this is a Bluetooth 2.x vs BLE issue).
Of course, you will need a way to read and write these BLE communications. For free options, we can use the LightBlue App for iOS or Android, or your Chrome browser on Mac, Android or ChromeBooks. For just a few dollars, I would also recommend the the WebBLE app on iPad.
Connecting your BLE Module
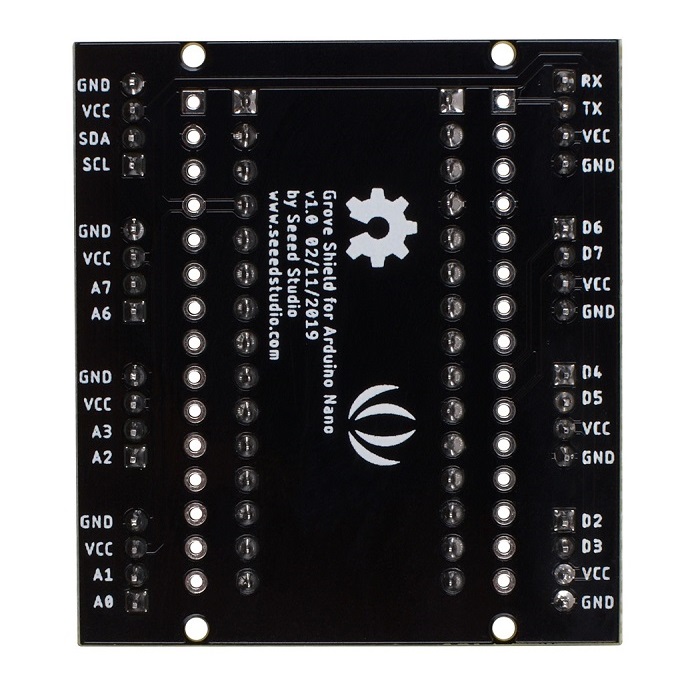
You may want to go back to the previous lesson and review the pin layout of the Arduino boards. Of interest here are the pins labelled RX (receive) and TX (transfer). For our Serial port, these will be pins 0 and 1.
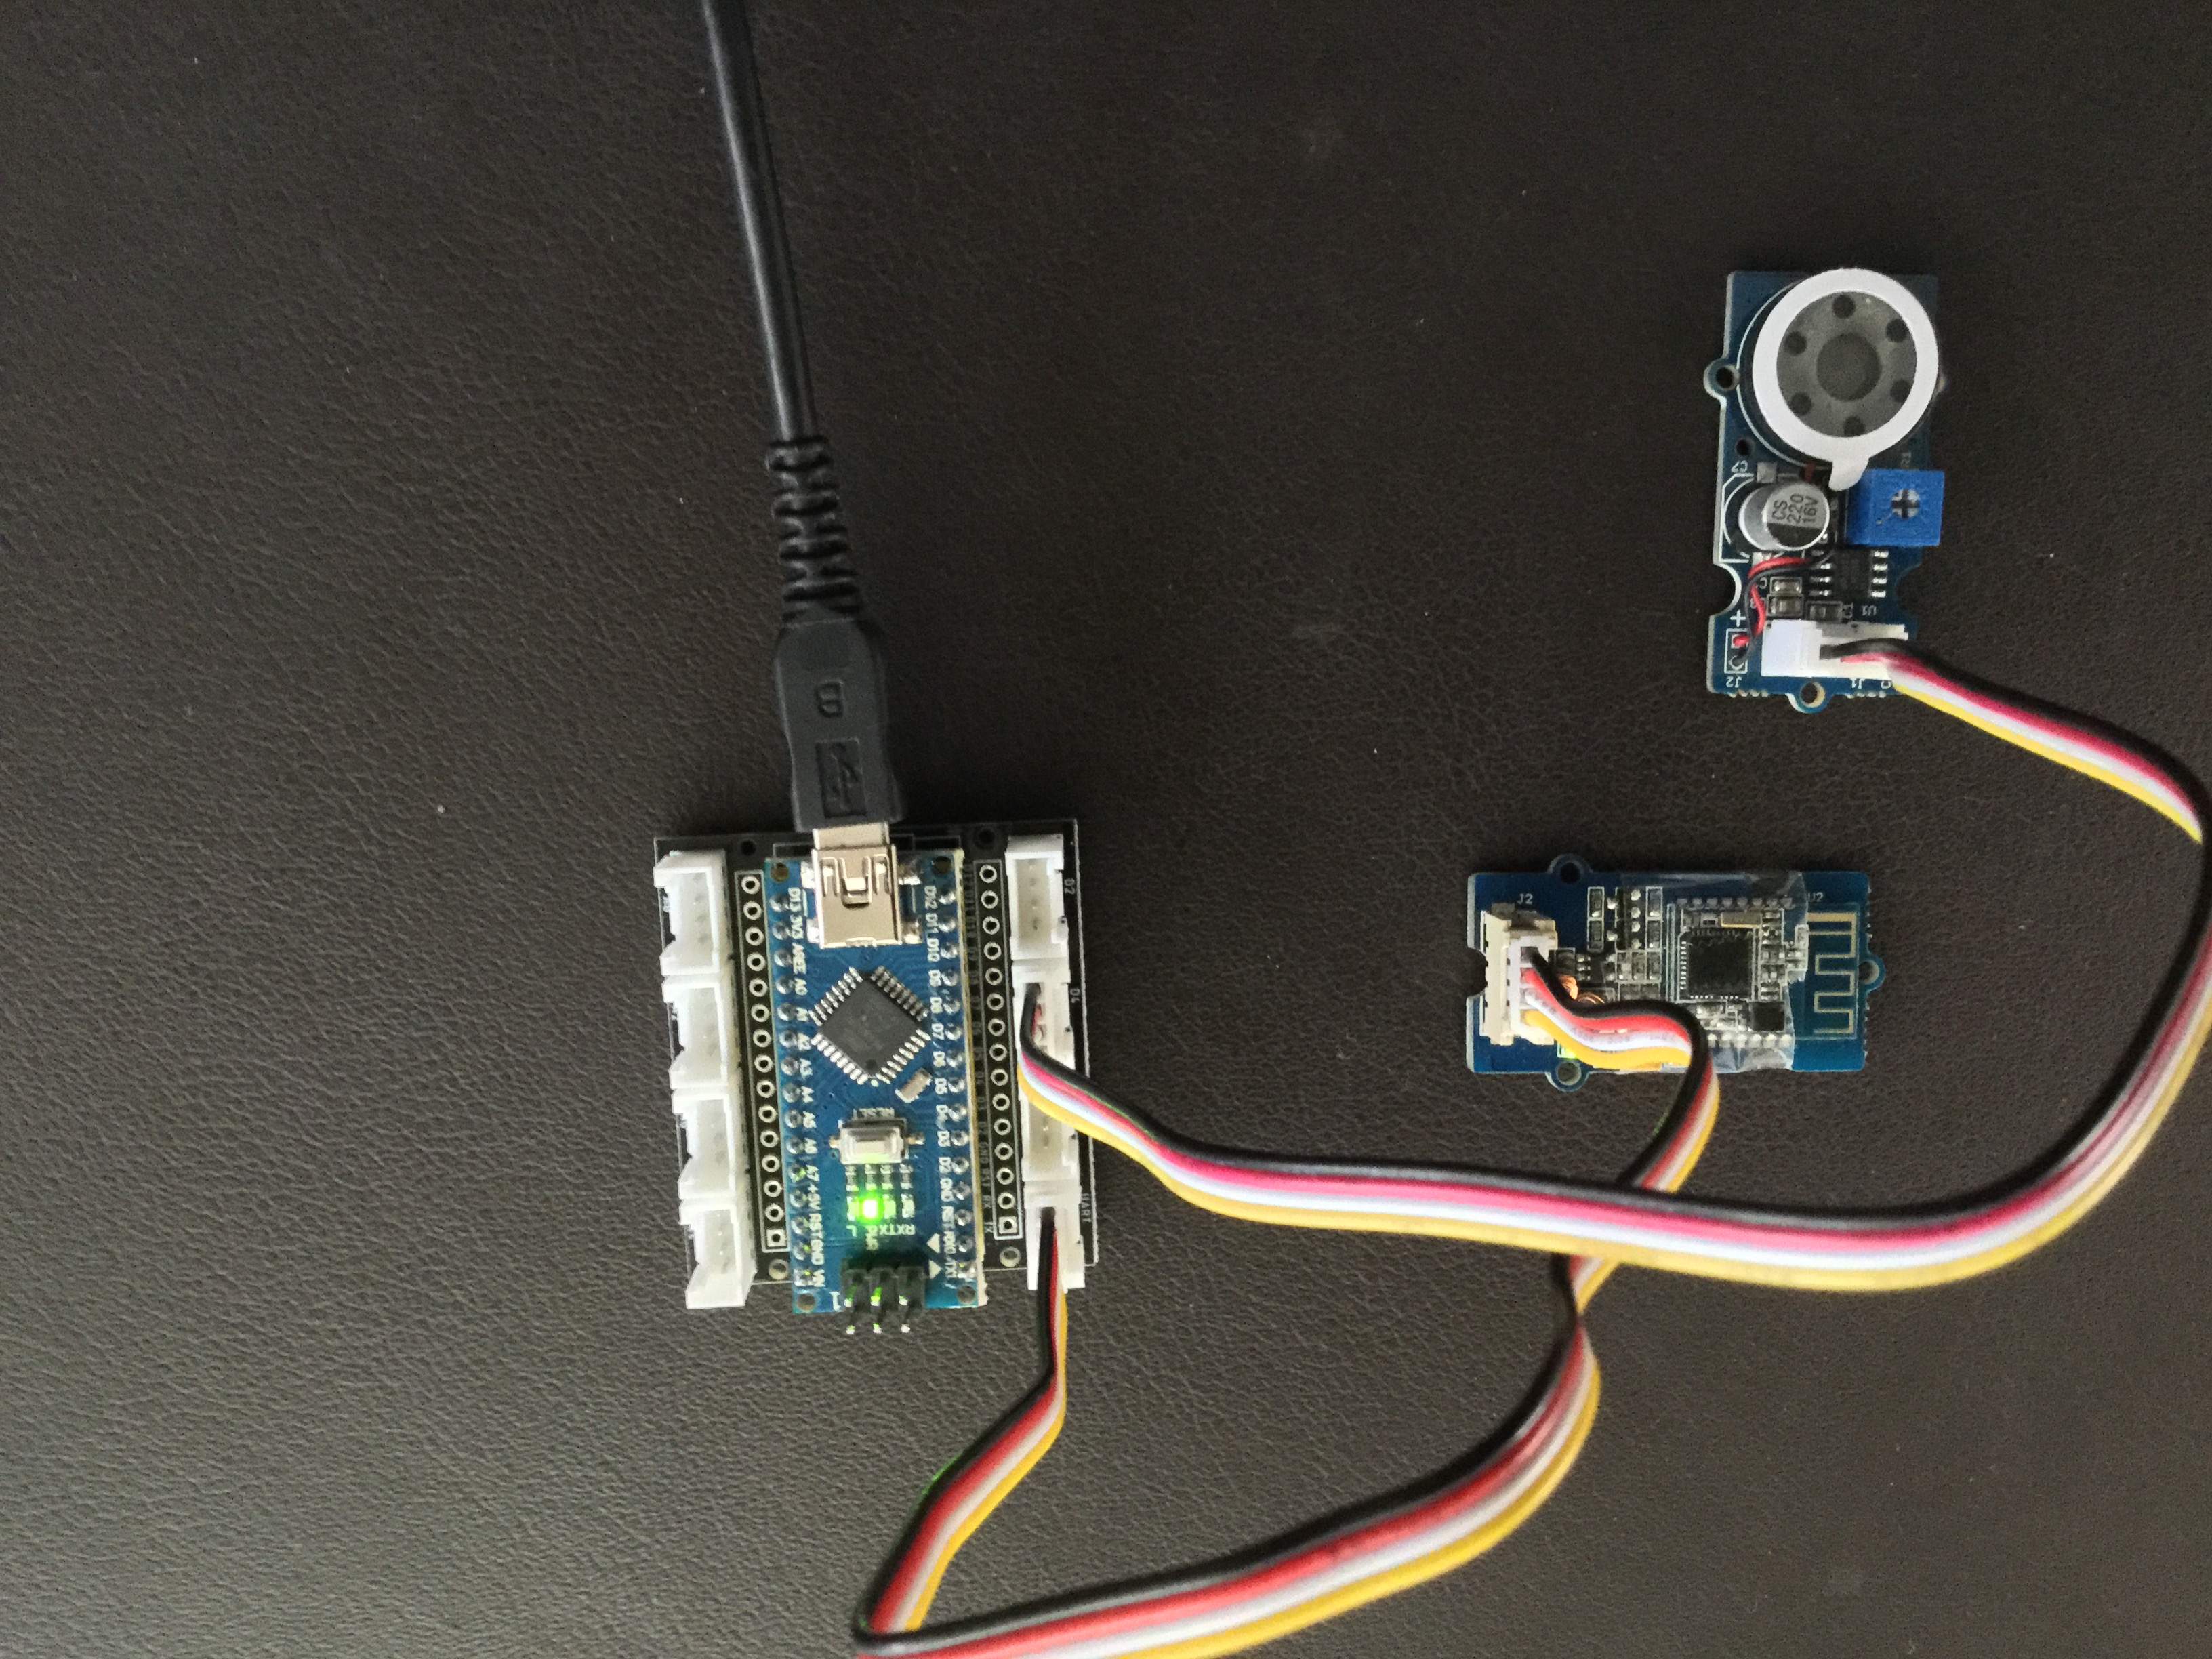
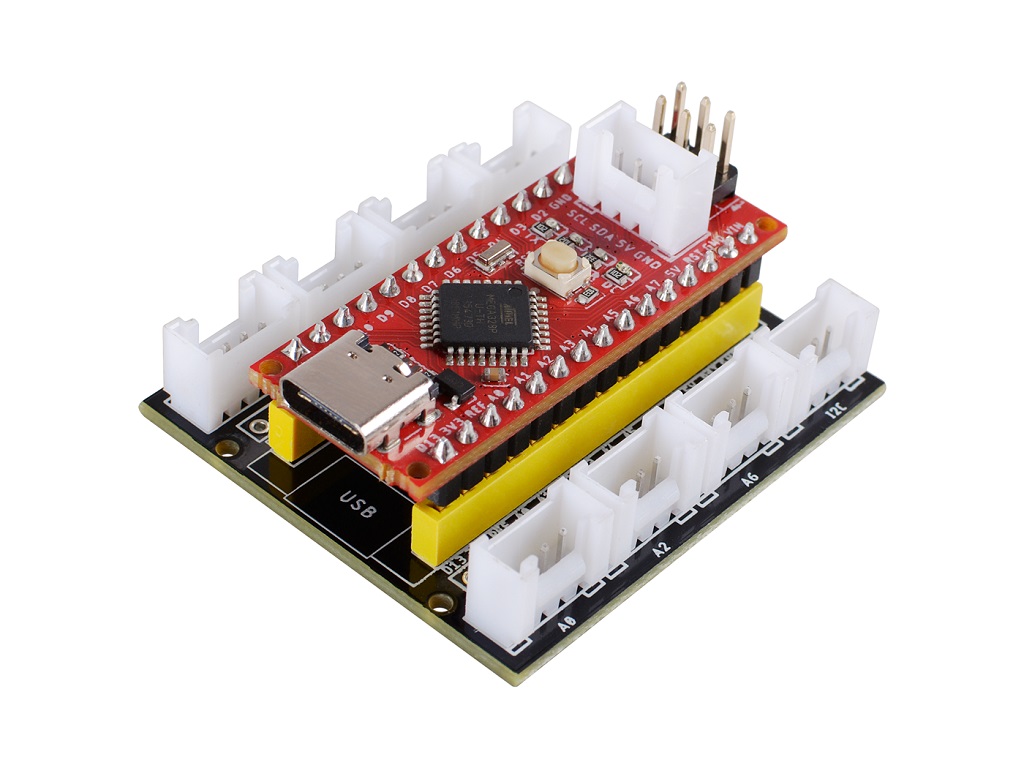
The Grove BLE modules (and similar units) use 4 wires - GND, voltage, RX and TX. For most Arduino boards this will mean connecting to any of the equivalent 3V3 and GND pins on the board, and pins 0 and 1 for RX and TX - note that RX on the module connects to TX on the board, and vice-versa). If you have the Grove Shield then things are even easier.
Now go back to the previous lessons and try out those Serial sketches with fresh eyes!
Try for yourself!
Use your Chrome browser on Mac, Android or ChromeBook, the LightBlue App for iOS or Android or the WebBLE app on iPad to test these pages.
BLE Controls
|
|
|
Create your own Live Web Page
Home ←STEM HQ ← Getting Started with Arduino ← Arduino Lesson 4


