Home TI-Nspire Scripting HQ STEM HQ Getting Started with TI LaunchPads Getting Started with TI LaunchPads


Getting Started with TI LaunchPads: Coding and Much More...

Energia Reference page


Introducing the TI LaunchPad Platform


TI LaunchPads are microcontroller development kits from Texas Instruments. They come in a variety of flavors to address various project needs. All LaunchPad kits include everything needed to begin developing applications in minutes, priced from $USD9.99 to $USD19.99. That's right - Blink LEDs and spin motors, all for less than $USD20. These units can be the basis for everything from simple coding to connecting a variety of sensors and other peripherals. They are easily programmed via USB from Mac or PC, and can be linked to BLE (Bluetooth Low Energy) modules, and even wifi to send and receive data both locally and remotely.

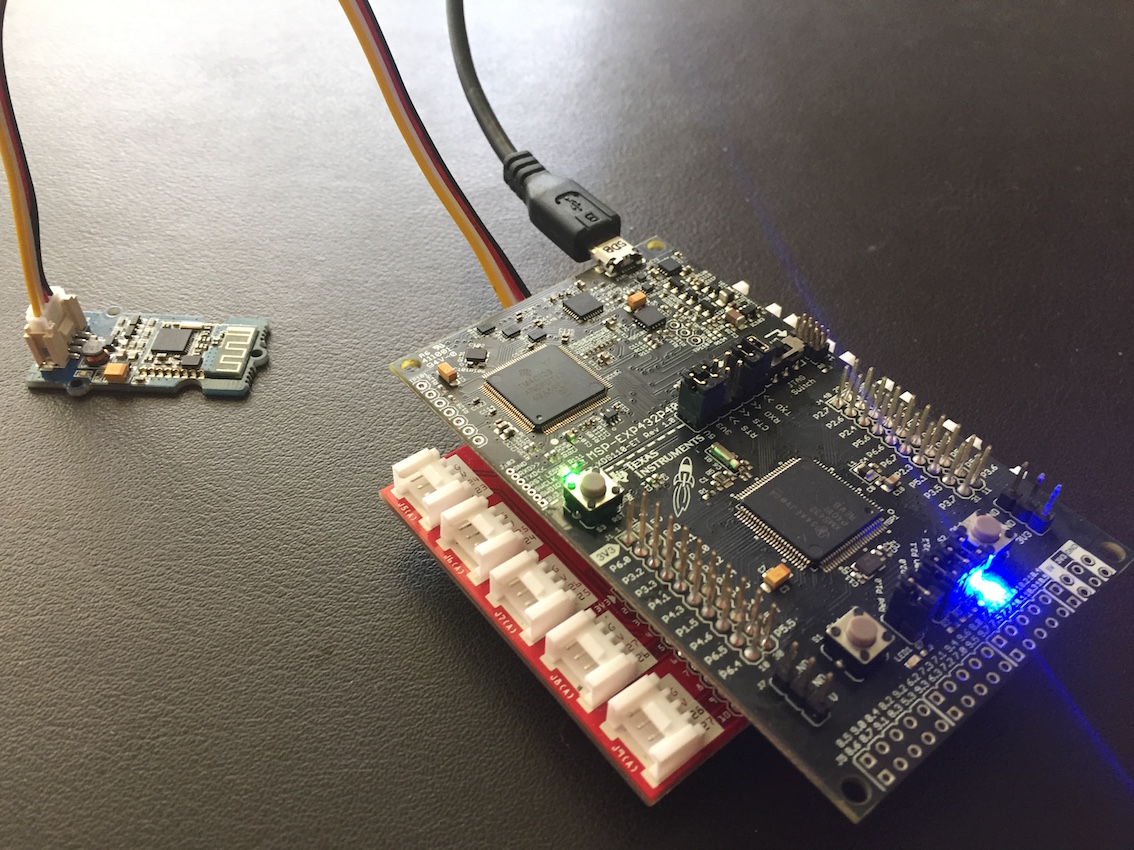
The main LaunchPads that we will be using here are great value 25 MHz MSP430F5529, or the MSP-EXP432P401R, a fast (48MHz) and powerful unit with multi-tasking capabilities. Both have a reset and two general purpose switches, as well as two or three LEDs (available in Australia for around $AUD20 for the MSP430, and around $AUD30 for the MSP432). Also of interest here might be the wifi-enabled CC3200 LaunchPad.
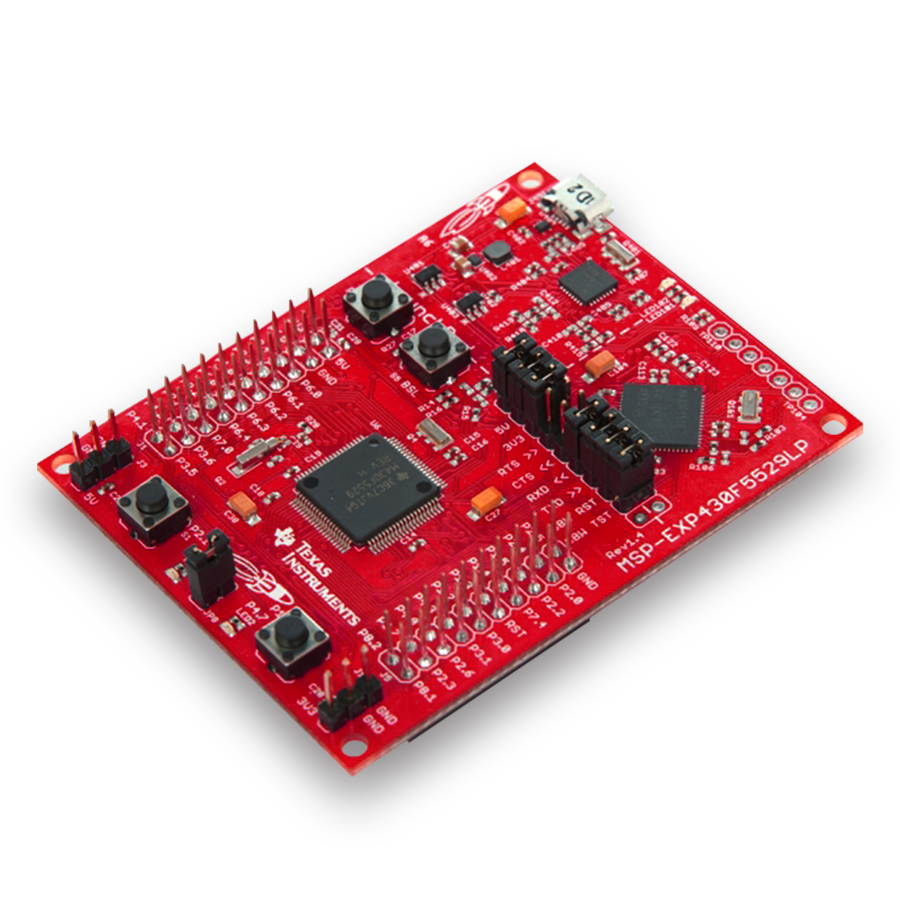
MSP430 LaunchPad


MSP432 LaunchPad


CC3200 Wifi LaunchPad


Hacking the Hub™

Did you know... The amazing new TI Innovator™ Hub has at its heart a TI MSP432 LaunchPad? While designed to be driven using a TI handheld, much that we describe here may also be applied to the Innovator Hub, if you have one.

That means that you can explore coding in C++ with your Innovator Hub!

It even means that you can control your Hub using BlueTooth Low Energy (BLE) if you want to follow that path, and use the wonderful TI-Nspire iPad Apps with your Hub OR use free browser-based tools created with Javascript and Web Bluetooth!


TI Innovator™ Hub (with MSP432 LaunchPad)

To hack your Hub...

  1. Download and install the free Energia software to your Mac or PC.

  2. Go to the Tools menu of your Energia software. If you have installed the latest version (Energia_18), then initially, you will need to go to the Boards Manager and install the MSP432 manager. HOWEVER, I have found some problems using this latest version and prefer to use the previous build (Release 0101E0017) - just scroll down past the instructions to find this. No Board Manager -just select your MSP432 from the Tools > Board menu!

  3. Take note of the >>Installation<< instructions on the download page (just after the latest download links). You will need to install drivers for your platform.

  4. If you have not already done so, connect your Hub via the port labelled Power to your computer using a micro-USB cable, and then select an appropriate port from the Tools > Port menu.

  5. From the File menu, you will select a sketch from either the Examples or SketchBook menus, and send to the Board as instructed in the tutorials that follow.

Remember: You can always reflash your Innovator Hub to return it to its original state, using the tools that TI has made available (just follow the Resources tab, and then "Keep your Innovator up to date"). So it is possible to explore coding the Hub in new ways!


The main focus of the introductory lessons which follow will be on writing simple code to control the MSP43x boards, first using USB connection with Mac or PC, and then via BLE. As shown above, the Grove Base BoosterPack unit provides a quick and easy way to connect multiple modules and sensors (including the Grove BLE module) but jumper leads can work just as well!

The lessons assume no prior knowledge of coding to boards such as the LaunchPads - they follow my own first faltering steps in this direction. After the first few lessons, they will assume some familiarity with the Lua tutorials (including the BLE section) for creating Lua documents that will serve to interface with the LaunchPads using the TI-Nspire iPad Apps.

There are two components to working with the LaunchPads and TI-Nspire - writing a "sketch" to the LaunchPad, which tells it how to respond to commands, and creating the Lua-based TI-Nspire document that will read from and write to that sketch. To create and send the sketch we create, we will use a free open-source-based software tool called Energia.

MSP432 LaunchPad with Grove BLE (with and without Grove Base BoosterPack)


So, let's get started! You will need to:

  • Buy a LaunchPad or two (either an MSP432, or the less expensive MSP430) OR an Innovator Hub. You can purchase these directly from TI or from a local supplier.

  • Download Energia for your platform (OS X, Windows, Linux), and install. Take note of the >>Installation<< instructions on the download page (just after the latest download links). You will need to install drivers for your platform.

  • Find a local supplier (or use eBay) to purchase some jumper leads and (optionally) alligator clips. You should be able to get a bunch of these for under $10. I have found that the male/female jumpers (as shown) have been the most useful, but it would not hurt to have a few of each type.

  • Later you will need a BLE module and a sensor or two - I have used the Grove units for these tutorials, and will be referring to these. Others may be used (and may save you quite a few dollars), but you will need to accommodate inevitable differences as they arise.


Energia IDE


Jumper leads


Alligator clips


Back to Top


Home TI-Nspire Scripting HQ STEM HQ Getting Started with TI LaunchPads Getting Started with TI LaunchPads