Home ← TI-Nspire Authoring ← TI-Nspire Scripting HQ ← Scripting Tutorial - Lesson 3
Scripting Tutorial - Lesson 3
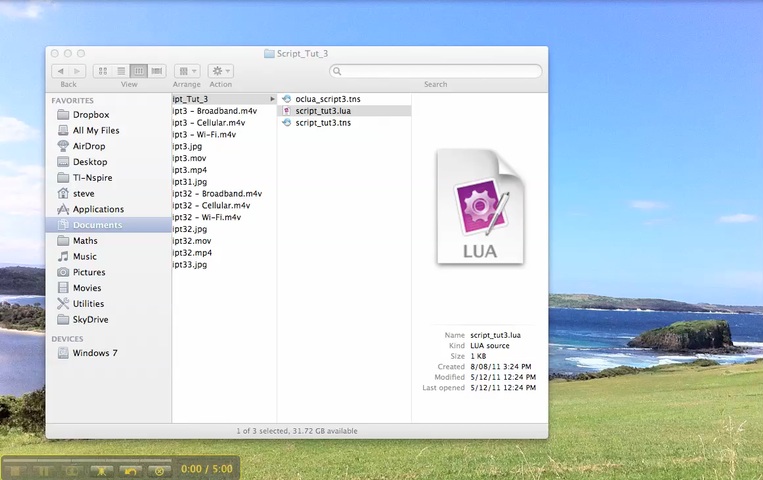
Download supporting files for this tutorial
Download this page in PDF format
Texas Instruments TI-Nspire Scripting Support Page
In this lesson we extend our use of TI-Nspire-based variables within our Lua script. In this was we can easily customize our document and, with a change to just one line, produce a page that can be very useful to those wanting to take advantage of Lua in their own TI-Nspire documents.
First, though, we will shift our tool use from Oclua to the TI-Nspire Script Editor. This in-built feature was included in the 3.2 release of the TI-Nspire Operating System (released early June 2012) and makes Lua scripting within Nspire very straight-forward.
Lesson 3.1: Using the TI-Nspire Script Editor
While Oclua allows the entire scripting process to occur within a document running even on the handheld, the Script Editor can only be accessed from Nspire software. This includes Student software, so students can certainly engage in Lua scripting, but they will not be able to do that on their handhelds unless they use Oclua.
The Script Editor is easily accessed from one of several Insert menus that may be found in the various versions of TI-Nspire software. Scroll down to the very last item and you will find two options - Insert Script (if you are on a new page and wish to begin) or Edit Script (if you are on an existing script and wish to work with it).
The accompanying video demonstrates how easily a script may be copied from an existing Lua document and pasted into a new Nspire script page. Of course, it is easier still to simply write your script within the Script Editor.
Once the script is ready for testing, click the Set Script button on the top menu bar of the editor (or just press ctrl-s). Other useful keyboard shortcuts include ctrl-~ to jump between editor and page (on the Mac, both of these use the CMD or Apple key), and a great time saver - ctrl-SpaceBar (yes - ctrl on both PC and Mac) - this autocompletes Lua commands!
Play around with the Editor and learn your way around it.
For a short video demonstration of the previous TI-Nspire Scripting Tool, click here.
Lesson 3.2: Varying our Display Lines
One simple change in the script turns our short multi-line display document into a much more usable tool.
The line in which each line of the table is created in the previous script was:
table[k] = "Line #"..k
This glues the current value of "k" to the string "Line #", so that the first line will display as "Line #1", and so on.
You will remember that the var.recall command grabs the current value of a TI-Nspire variable and makes it available to Lua. In our example, we used this device to grab the number of lines we wished to display.
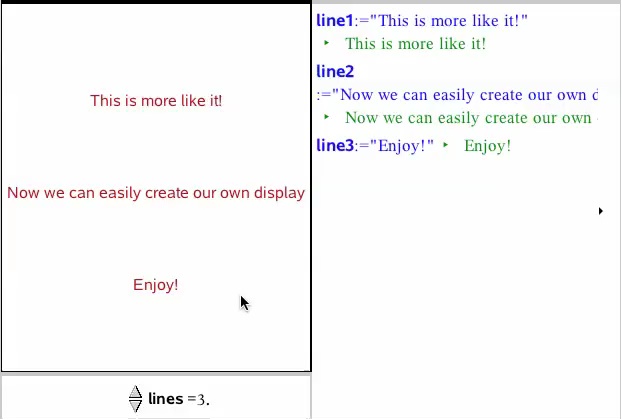
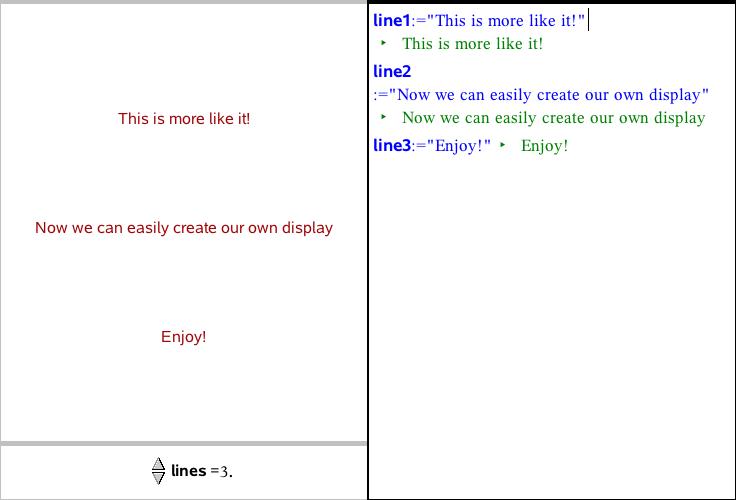
Now suppose we set up a variable called, for example, line1, the contents of which we want to be the first line? Then another called line2 and so on? We could easily control the contents of our display, and change them at any time from within TI-Nspire.
For this to happen, we could simply change the line above to
table[k] = (
var.recall("line"..k) or "Line #"..k)Study this new line and see if you can understand what is happening.
When k = 1, var.recall looks for a variable named line1 and stores it as table[1] (the first entry of the table, "table"). If it cannot be found, then this line becomes just "line #1" (possibly a better choice might be a blank line, "".)
When k = 2, table[2] is defined as the current value of the variable line2, and so on.
So by storing values into these variables within your TI-Nspire document, they are immediately displayed within your Lua scripted page.
Lesson 3.3: Conditions
In our simple introduction to Lua scripting, we need one more ingredient: conditional statements: "if...then...else...end" (in TI-Nspire, the same syntax applies, except it finishes with "endif"!).
Suppose we would like our first and last lines to be highlighted in some way: perhaps a different color, or bold instead of plain style? This is easily achieved in our script.
for k = 1, linecount do
gc:setFont("sansserif", "r", 10)
gc:setColorRGB(158, 5, 8)
table[k] = (
var.recall("line"..k) or "Line #"..k)strwidth =
gc:getStringWidth(table[k])strheight =
gc:getStringHeight(table[k])gc:drawString(table[k], w/2 - strwidth/2 ,h*k/(linecount+1) + strheight/2)
end
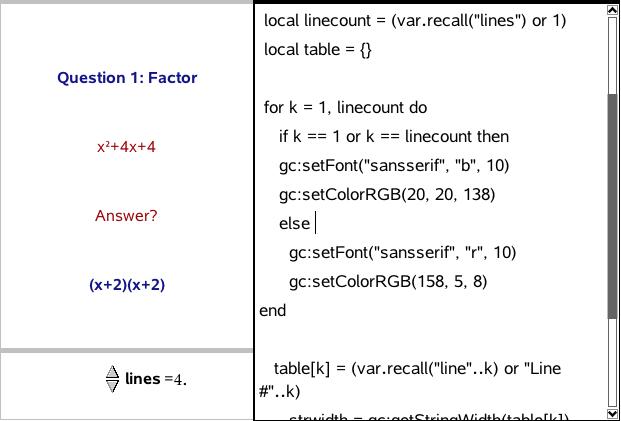
We just need to add a condition to the setFont and setColor commands! Some thing like
if k == 1 or k == linecount then
gc:setFont("sansserif", "b", 10)
gc:setColorRGB(20, 20, 138)
else
gc:setFont("sansserif", "r", 10)gc:setColorRGB(158, 5, 8)
end

NOTE the use of the double equals sign to denote equality!!! A single equals sign denotes definition (k = 1). Watch this one!
Other than that, the rest should be pretty plain sailing.
And another lesson complete! Take some time to play and see what you can discover.
In our next lesson, we learn how to actually accept input directly into our Lua window, the basis for tutorial and quiz applications.
Home ← TI-Nspire Authoring ← TI-Nspire Scripting HQ ← Scripting Tutorial - Lesson 3